I love working with the command line. I think there’s hardly any more productive and versatile tool for a software developer than the terminal. The additional hacker/wizard/neckbeard kind of feeling you get when using a terminal comes for free, what’s not to love? One of the most important tools in my daily command line workflow is tmux. Check this out:
What is tmux?
tmux is a terminal multiplexer. It lets you switch easily between several programs in one terminal, detach them, and reattach them to a different terminal. tmux is most often used to run long-running programs, such as compilations or daemons, in a manner that doesn’t interrupt the use of the keyboard and mouse. The most popular use of tmux is in terminal-based text editors, where it allows you to edit a file in one terminal and have another open in another terminal window.
You see that tmux basically offers two big features:
- Window management in your terminal
- and session management
If you are familiar with GNU Screen this might all sound familiar. Think of tmux as an easier-to-use and a little more powerful alternative to Screen.
Enough with the concepts. Let’s get our hands dirty!
Installation
Fortunately installing tmux is pretty straightforward on most operating systems: a simple
sudo apt-get install tmux (Ubuntu, WSL and derivatives) or brew install tmux (MacOS) should be sufficient.
Starting Your First Session
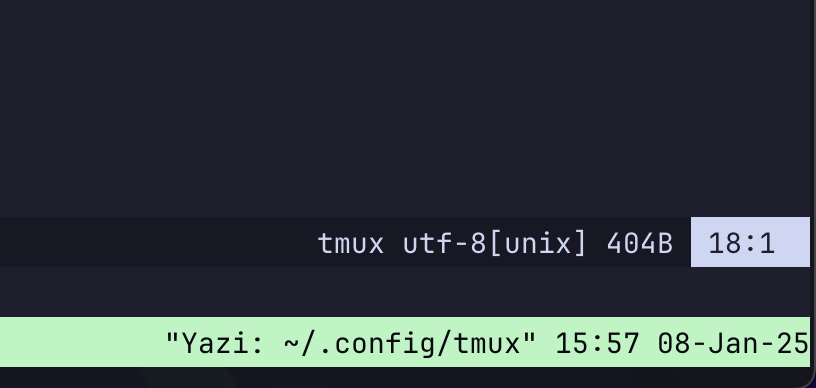
For your first session simply start tmux with a fresh session:
tmux
This will create a new tmux session with a nice all-green status bar at the bottom:
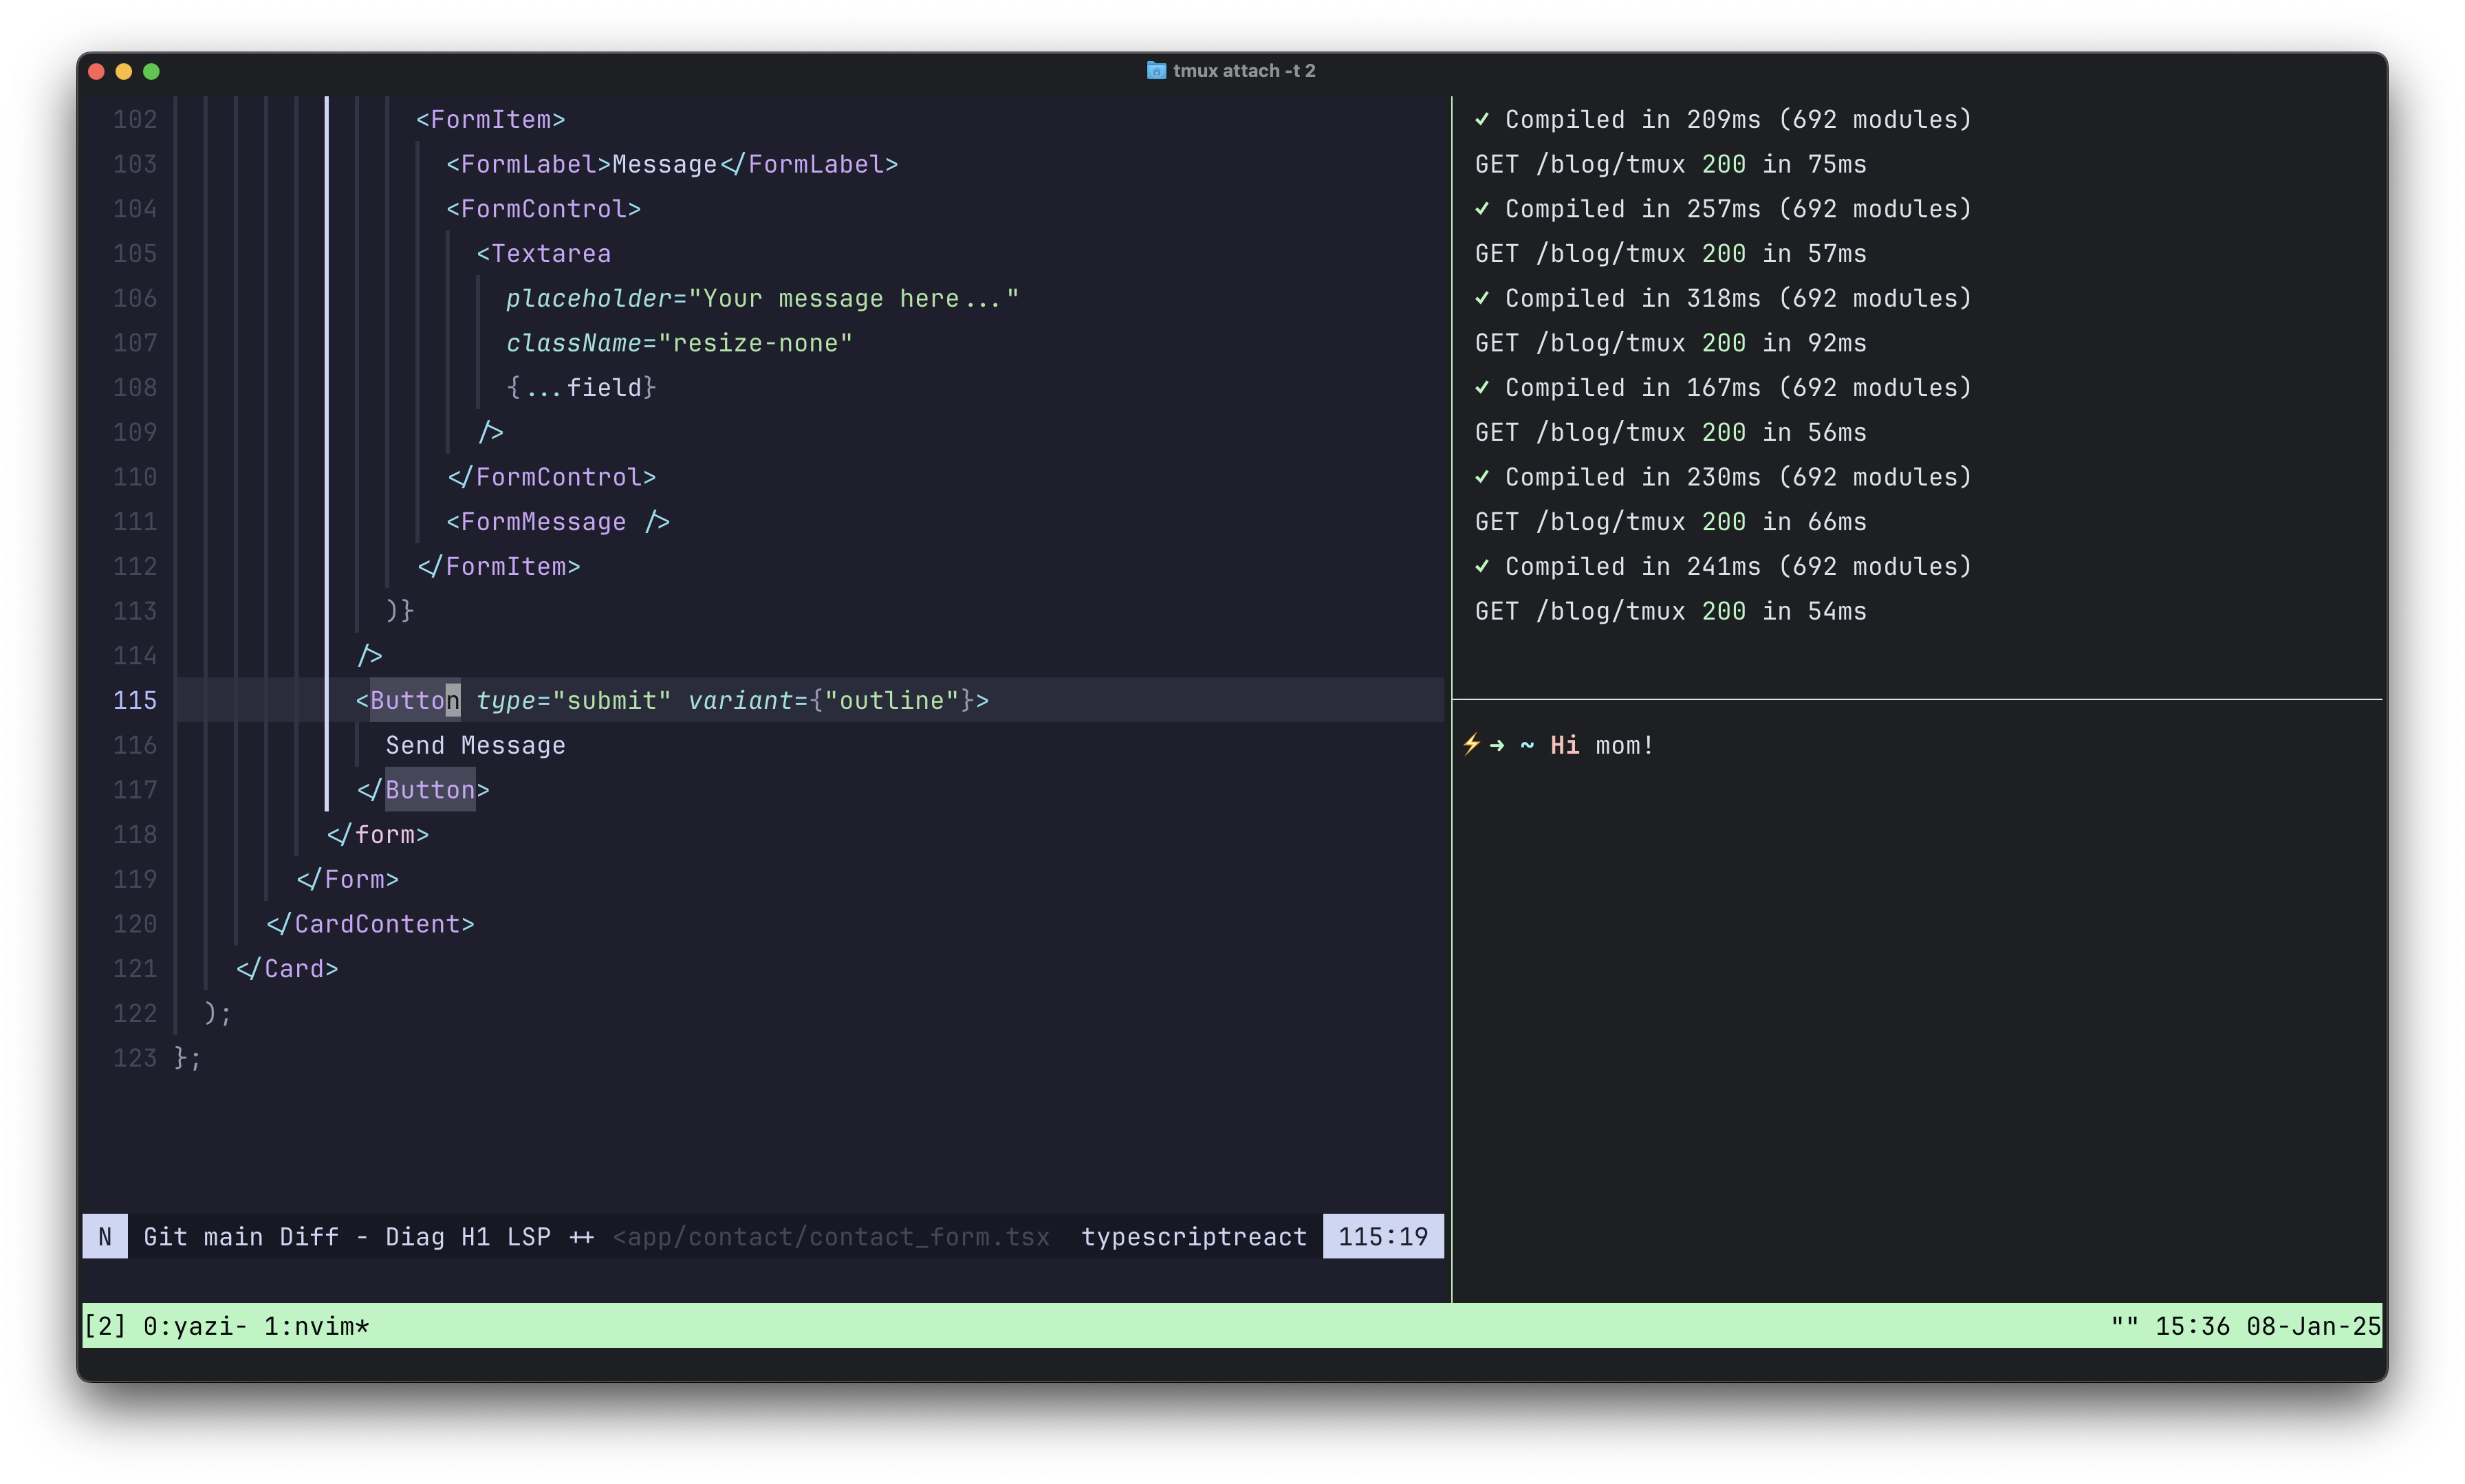
Splitting Panes
Now that you have a session running, you can start splitting your terminal into multiple panes.
Panes are subdivisions within a tmux window - a window can contain multiple panes.
You can split your current pane into two with Ctrl-b % (Ctrl-b is the prefix key, which you can change in your ~/.tmux.conf file).
This will split your window into two panes, one on the left and one on the right:
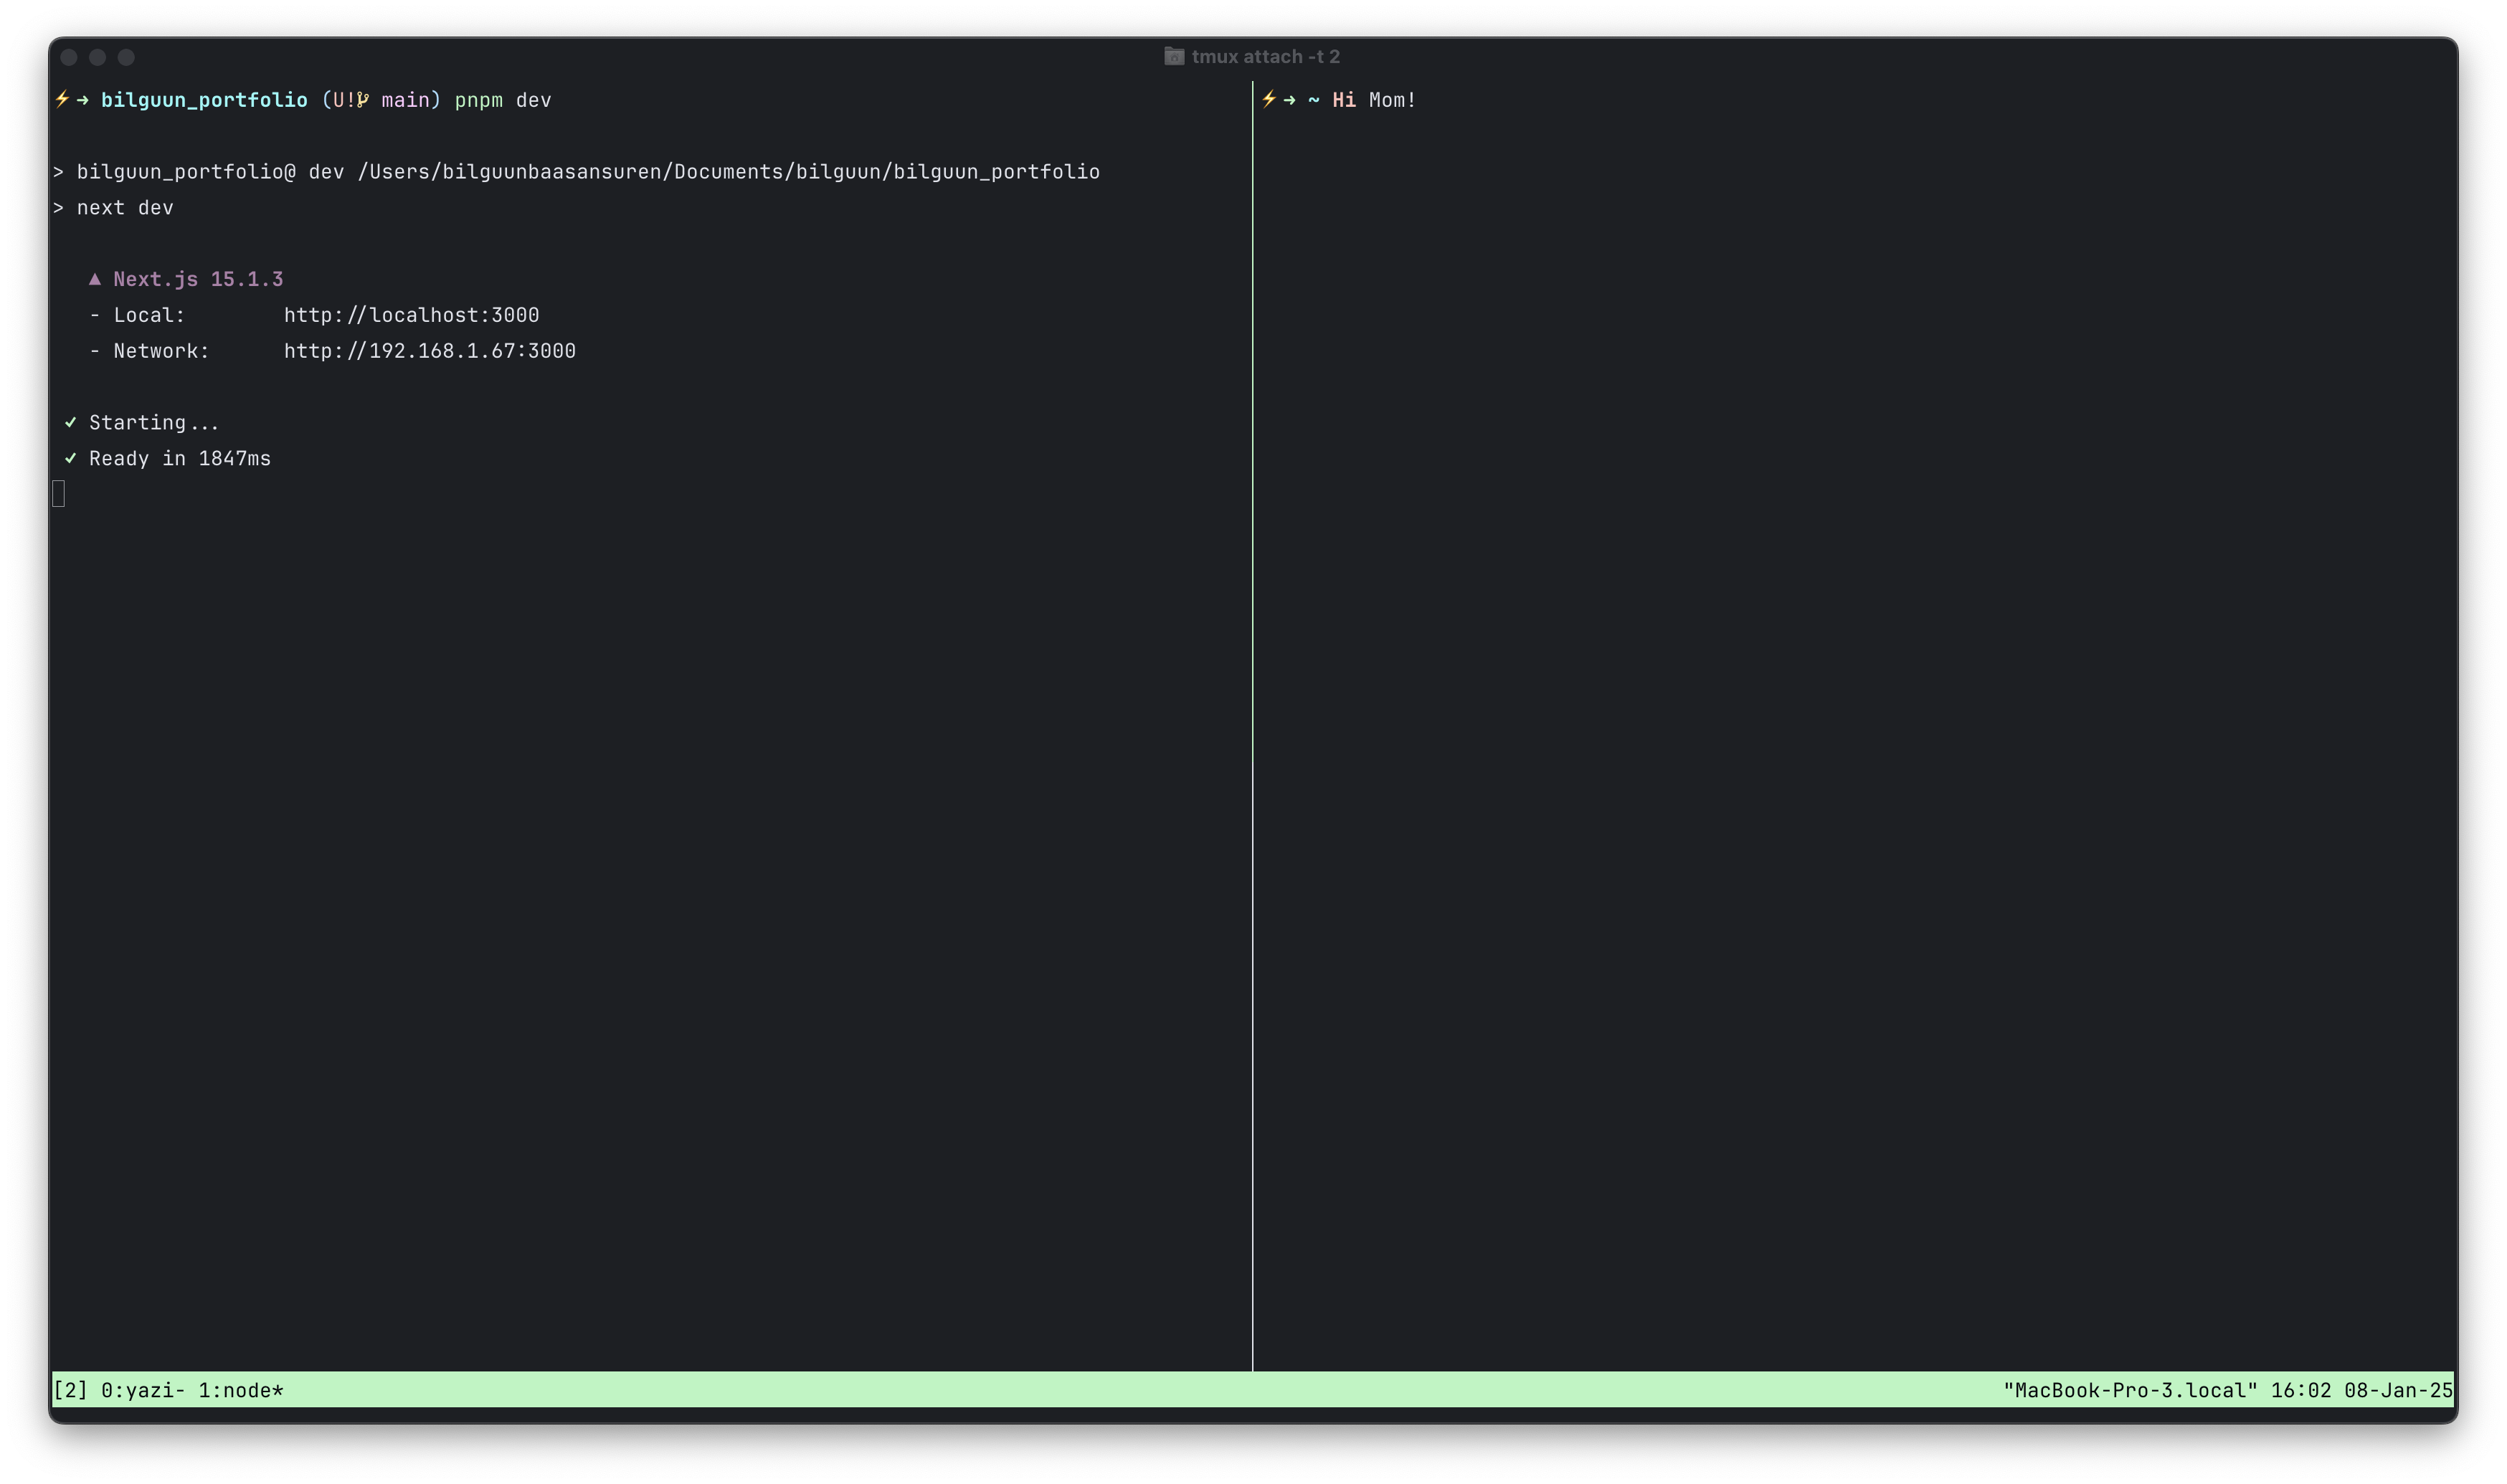
To switch panes, use Ctrl-b <arrow key>.
Resizing Panes To resize a pane, use:
Ctrl-b + Alt + <arrow key>
Detaching Sessions
To detach a session and leave it running in the background, use Ctrl-b d.
To reattach to an existing session, first list running sessions:
tmux ls
Then attach to a specific session:
tmux attach -t <session-name>
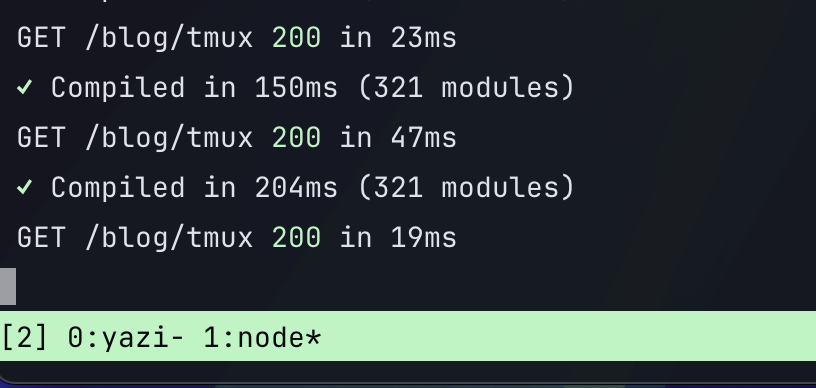
Creating Windows
If you want to create a new window, you can do so with Ctrl-b c. This will create a new window with a nice all-green status bar at the bottom:
Moving Between Windows
To navigate between windows, use:
Ctrl-b n # Move to the next window
Ctrl-b p # Move to the previous window
Ctrl-b w # Open window selector
Scrolling
Ctrl-b [
- This puts tmux in copy mode, allowing users to navigate up/down with arrow keys.
Renaming Windows
If you want to rename your window, use Ctrl-b , (where , is the comma key). This brings up a prompt where you can enter a new window name.
Session Handling
If you’re done with your session, you can either close it by exiting all processes running inside or keep it running in the background for later use.
To detach your current session use C-b d. You can also use C-b D to let tmux give you a choice which of your sessions you want to detach.
Detaching from a session will leave everything you’re doing in that session running in the background. You can come back to this session at a later point in time.
To re-attach to a session and continue where you left you need to figure out which session you want to attach to first. List the currently running sessions by using
tmux ls
This will give you a list of all running sessions, which in our example should be something like
0: 2 windows (created Sat Aug 15 17:55:34 2015) [199x44] (detached)
To connect to that session you start tmux again but this time tell it which session to attach to:
tmux attach -t 0
Note that the -t 0 is the parameter that tells tmux which session to attach to. “0” is the first part of your tmux ls output.
If you prefer to give your sessions a more meaningful name (instead of a numerical one starting with 0) you can create your next session using
tmux new -s database
This will create a new session with the name “database”.
You could also rename your existing session:
tmux rename-session -t 0 database
The next time you attach to that session you simply use tmux attach -t database.
If you’re using multiple sessions at once this can become an essential feature.
Killing a Session
To kill a specific session, use:
tmux kill-session -t <session-name>
If you want to forcefully terminate all tmux sessions, use:
tmux kill-server
⚠️ Warning: This will shut down all running sessions, even detached ones.
tmux is a key part of my keyboard-driven workflow. I also use it alongside Neovim with vim-tmux-navigator for seamless pane navigation. Check out my dotfiles to see my full tmux configuration.